
To make a projector with a flashlight, you will need a few additional materials and follow a step-by-step process. First, gather the necessary materials: a flashlight, a magnifying glass, a cardboard box, a white sheet of paper, and tape. Begin by cutting a small hole in one side of the cardboard box, large enough to fit the flashlight snugly.
Insert the flashlight into the hole, ensuring it is secure. Next, position the magnifying glass in front of the flashlight lens, making sure it is centered and at a distance that allows the light to pass through it. Secure the magnifying glass in place using tape.
Now, take the white sheet of paper and tape it to the opposite side of the cardboard box, ensuring it is taut and flat. This will serve as your projection screen. Turn off the lights in the room and turn on the flashlight. Adjust the distance between the magnifying glass and the paper until you achieve a clear and focused image.
You can also experiment with the angle and position of the flashlight to improve the image quality. Finally, test your projector by projecting images or videos onto the white screen. Remember to keep the room as dark as possible for better visibility.
With these simple steps, you can create a basic projector using a flashlight, allowing you to enjoy a larger display of your favorite media.
What materials are needed to make a projector with a flashlight?
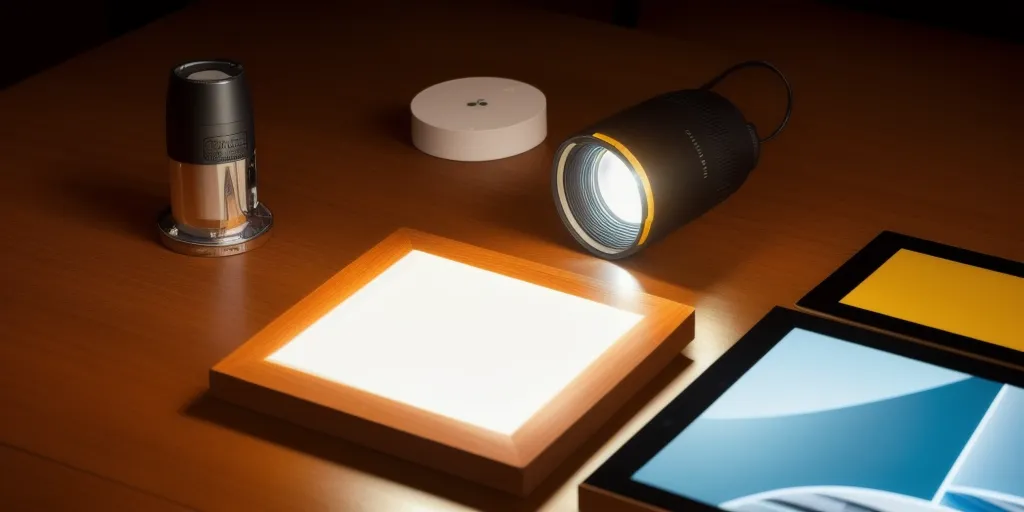
Making a projector with a flashlight requires a few materials. First, you will need a flashlight. It should be a bright LED flashlight with a wide beam. You will also need a magnifying lens, which can be found at most hardware stores. Additionally, you will need a piece of cardboard or a sheet of paper to act as a screen.
Finally, you will need a piece of tape or a rubber band to secure the magnifying lens to the flashlight. To assemble the projector, start by taping or rubber banding the magnifying lens to the flashlight. Then, place the cardboard or paper screen on a wall or other flat surface.
Finally, turn on the flashlight and adjust the angle of the magnifying lens until the image is projected onto the screen. With these materials, you can easily make a projector with a flashlight.
How do you secure the magnifying glass in place?
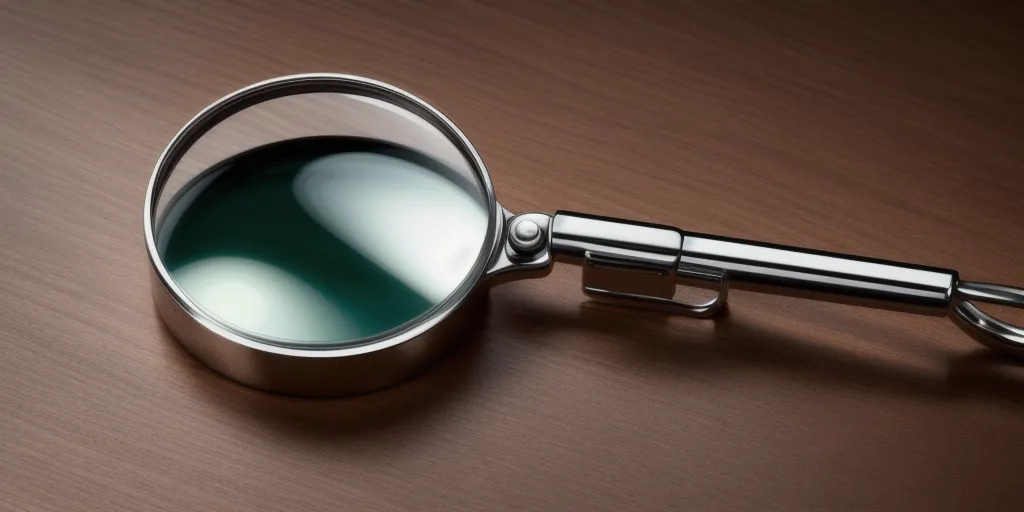
Securing a magnifying glass in place is an important step in ensuring that it is used safely and effectively. To do this, it is important to use the right materials and techniques. First, you should use a sturdy base to hold the magnifying glass in place. This could be a table, a stand, or a clamp.
Once the base is in place, you should use a clamp or a clamping device to secure the magnifying glass to the base. This will ensure that the magnifying glass does not move or shift while in use. Additionally, you should use a non-slip material such as rubber or foam to keep the magnifying glass from slipping or sliding.
Finally, you should use a locking mechanism to ensure that the magnifying glass is securely held in place. This could be a latch, a screw, or a locking pin. By following these steps, you can ensure that your magnifying glass is securely held in place and can be used safely and effectively.
How do you adjust the image quality?
Image quality can be adjusted in a variety of ways. The most common way to adjust image quality is to adjust the resolution. Resolution is the number of pixels in an image, and the higher the resolution, the better the image quality. Additionally, adjusting the brightness and contrast of an image can also improve its quality.
Brightness is the overall lightness or darkness of an image, while contrast is the difference between the lightest and darkest parts of an image. Increasing the brightness and contrast can make an image appear sharper and more vibrant.
Finally, adjusting the color balance of an image can also improve its quality. Color balance is the ratio of the primary colors (red, green, and blue) in an image, and adjusting the balance can make an image appear more natural and lifelike. By adjusting the resolution, brightness, contrast, and color balance of an image, you can significantly improve its quality.
What is the best way to keep the room dark for better visibility?
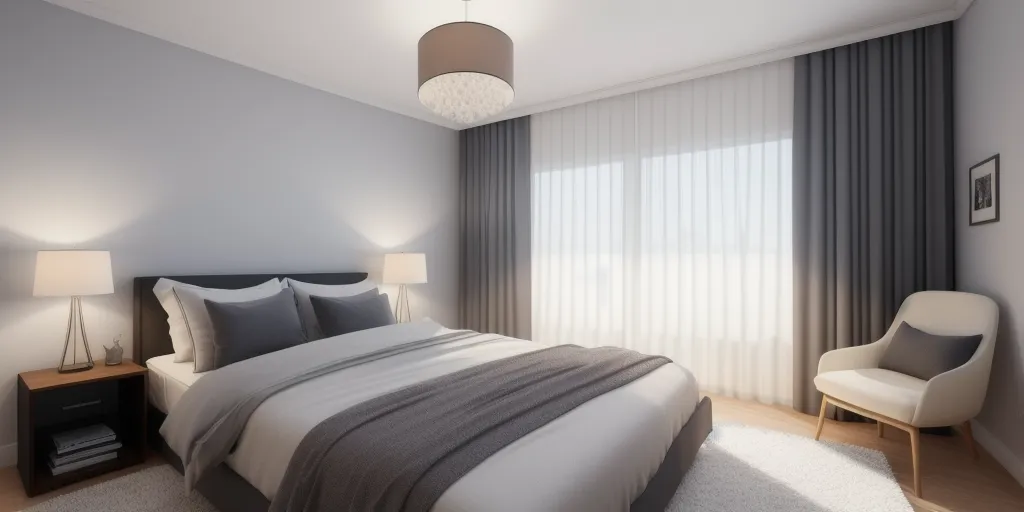
The best way to keep a room dark for better visibility is to use blackout curtains or shades. Blackout curtains are designed to block out all light from entering the room, creating a dark environment that is ideal for viewing a movie or television show.
Additionally, blackout curtains can help reduce glare from outside sources, such as street lights or the sun, which can make it difficult to see the screen. To further reduce glare, you can also use a blackout shade or blind to cover the window. This will help to reduce the amount of light that enters the room, creating a darker environment.
Finally, you can also use a dimmer switch to adjust the brightness of the room. This will allow you to control the amount of light in the room, creating a darker environment that is ideal for viewing a movie or television show. By using blackout curtains, shades, and a dimmer switch, you can create a dark environment that is perfect for viewing a movie or television show.